For a professional-looking paint job, do what the experts do.
These top tips from the experts at Behr and Benjamin Moore will make your next paint job a smashing success.
Wait for dry weather.
Humidity means drips and slow drying, so avoid painting on a rainy day. If you must paint when it’s humid, take your time — and take advantage of slow-drying paint to correct your errors before moving on to the next coat. But don’t overwork, or it will show when you’re finished.
Do a thorough visual inspection and prep.
Any cracked, flaking, or peeling areas need to be lightly sanded or scraped (and then thoroughly rinsed) before applying new primer and paint, because the weight of the new coat will pull the old paint loose. “You’ll just end up wasting your time and money if you don’t tackle that first,” says Tom Lee, Senior VP of Consumer Marketing for Behr. Greasy spots may also need a bit of washing with soap, followed by a rinse with clean water. Otherwise, give the walls a quick wipe-down with a damp cloth so that paint will have a clean, dust-free surface to stick to.
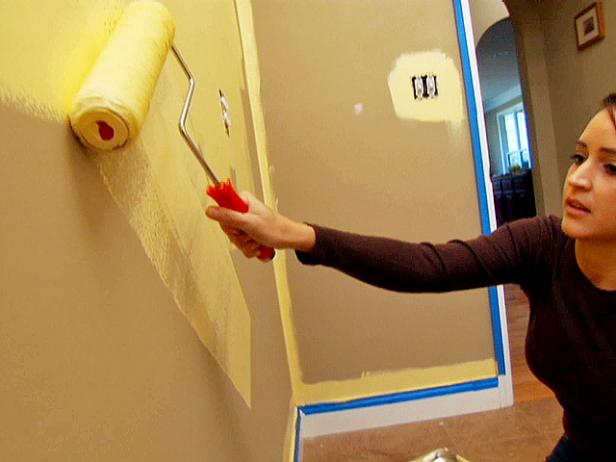
Buy high-quality brushes, roller covers, and painter’s tape.
If you’re splurging on great paint, you definitely don’t want to pinch pennies on the application. Good brushes and roller covers give excellent coverage so that you don’t waste time and paint on re-application, and high-end painter’s tape is the real deal when it comes to sealing out drips and blurs.
The more texture your walls have, the thicker the nap you’ll want on your roller cover so that it can reach into crevices and give complete coverage. But if you go too thick, you might actually create texture where you don’t want it, so be prepared to give your salesperson details about what you’re painting.
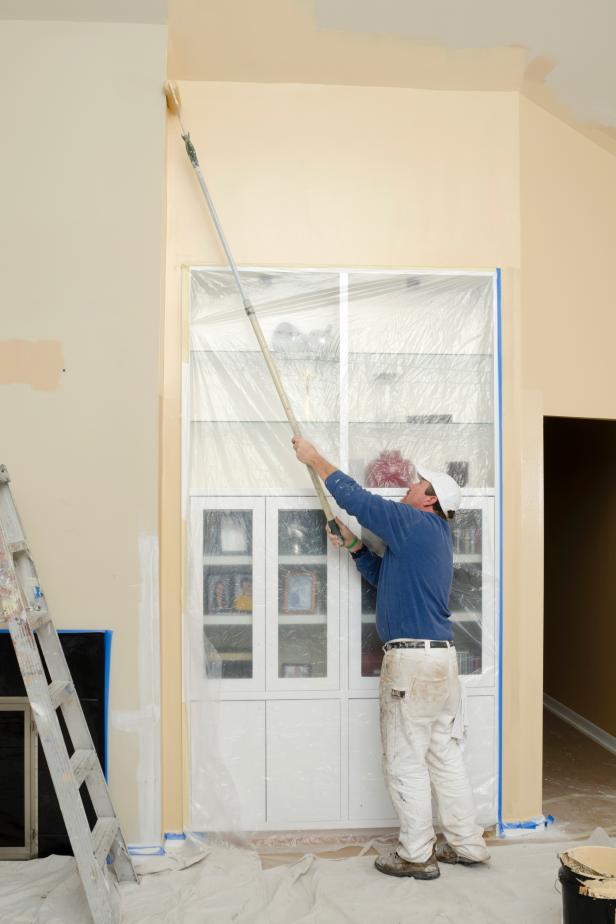
Protect anything you don’t want painted.
You will never regret the time you spend covering floors, furniture, and hardware before you begin a paint project. Drop cloths are a must, and small plastic sandwich bags secured with tape are an easy way to protect doorknobs.
Remove light switch and outlet covers.
If you’re impatient, you’ll be tempted to skip this five-minute step, but don’t.

Use primer.
Paint-and-primer combinations are fine if you already have a clean, smooth surface, but if there are any issues with the wall or it’s been more than eight years since you last painted, bite the bullet and go with a separate primer. If you need to cover an especially challenging surface (say, glass or high-gloss paint), use a bonding primer such as Benjamin Moore’s Insl-x Stix Waterborne Bonding Primer or KILZ Adhesion Interior & Exterior Bonding Primer.
Box your paint.
Get your salesperson to help you with a realistic estimate of how much paint you’ll really need so that you can buy it all at once. Then, instead of using one gallon at a time, combine all the paint into one large container and mix it thoroughly. This is known as “boxing” your paint, and it keeps your color consistent from beginning to end.
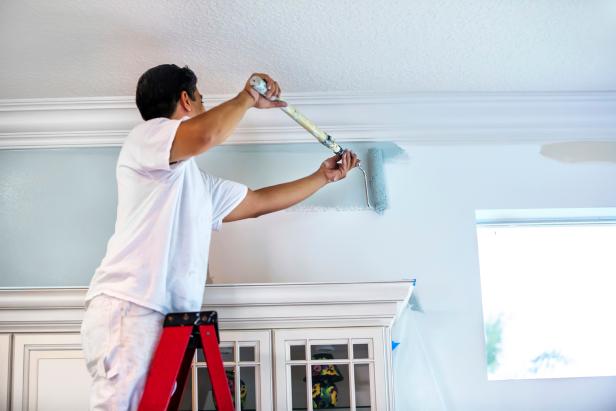
Today’s premium paints flow on easily, and you’ve already chosen a good roller cover (right?), so there’s no need to use much pressure. Be sure to use an extension pole so you can reach the maximum amount of area with the least effort — and without straining your back.
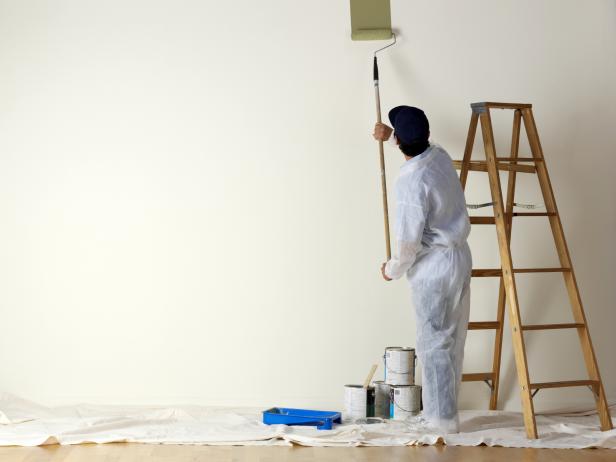
Paint from top to bottom.
After you’ve cut in your edges at the ceiling and baseboard using a brush, use your roller to apply paint from the ceiling downward. Amateurs often have telltale drips and spatters at the end of a paint job, but pros paint right over their mistakes as they work their way down the wall. Once an area starts to dry, it’s best to leave it alone. Going back over it can leave marks and color streaks in the paint’s surface.
SOURCE: DIYNETWORK.COM